Diferencia entre revisiones de «Windows checkdisk for resizes»
De GIGAS DOCS
| Línea 7: | Línea 7: | ||
# Check via console the check disk and the further booting process. You have the option of accessing via VNC or Java console, this two are available at the Gigas’ panel at the Console tab.<br>[[Archivo:Chequeo_disco_W1.jpg]] | # Check via console the check disk and the further booting process. You have the option of accessing via VNC or Java console, this two are available at the Gigas’ panel at the Console tab.<br>[[Archivo:Chequeo_disco_W1.jpg]] | ||
# Repeat the process (from 1 to 5). | # Repeat the process (from 1 to 5). | ||
| − | # Launch the disk’s resize from the Gigas’ panel at the Disk tab.<br>[[Archivo: | + | # Launch the disk’s resize from the Gigas’ panel at the Disk tab.<br>[[Archivo:Check_disk_W2.jpg]] |
Revisión del 19:52 18 abr 2016
¿Quieres leer esta página en español ?
- You need to access via remote desktop to the Windows server and open a console.
- Execute the command “CHKDSK /f”
- Cconfirm the check disk for being executed after the next booting of the server.
- Execute the command “shutdown –r –f –t 00” for rebooting the server.
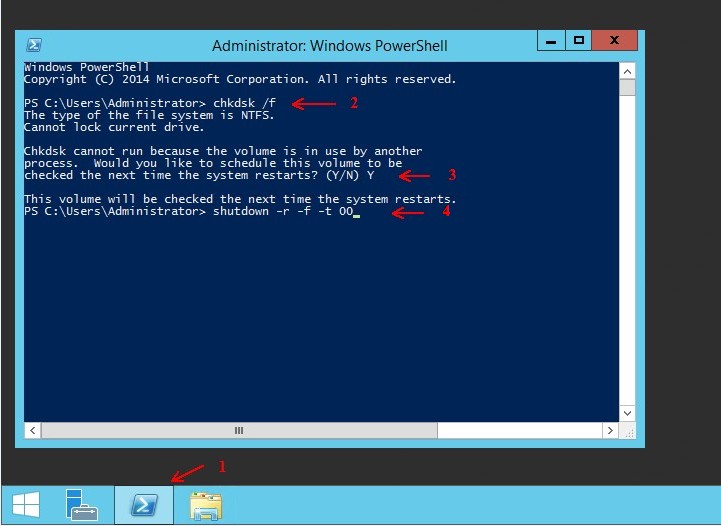
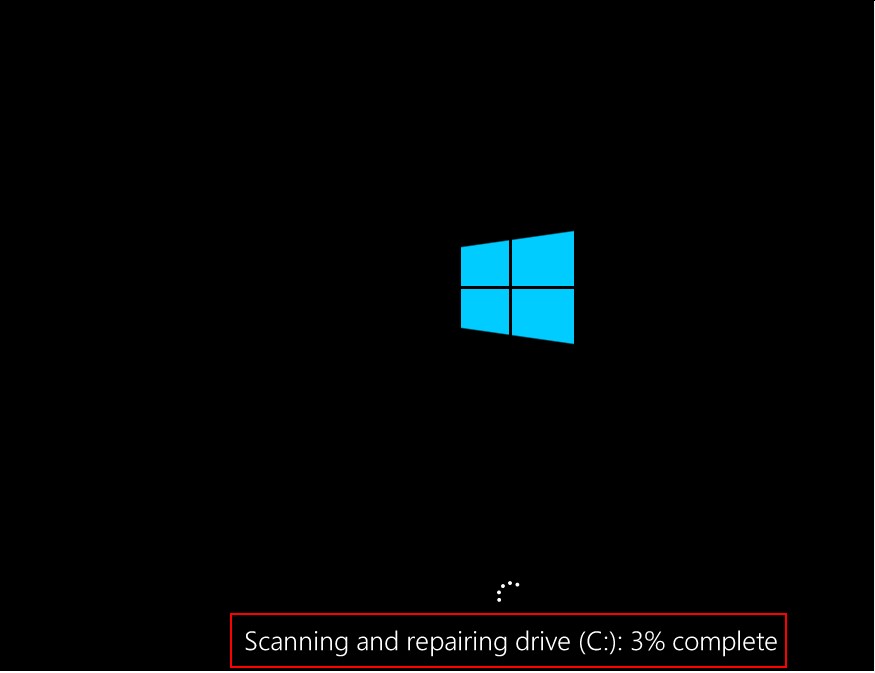
- Check via console the check disk and the further booting process. You have the option of accessing via VNC or Java console, this two are available at the Gigas’ panel at the Console tab.
- Repeat the process (from 1 to 5).
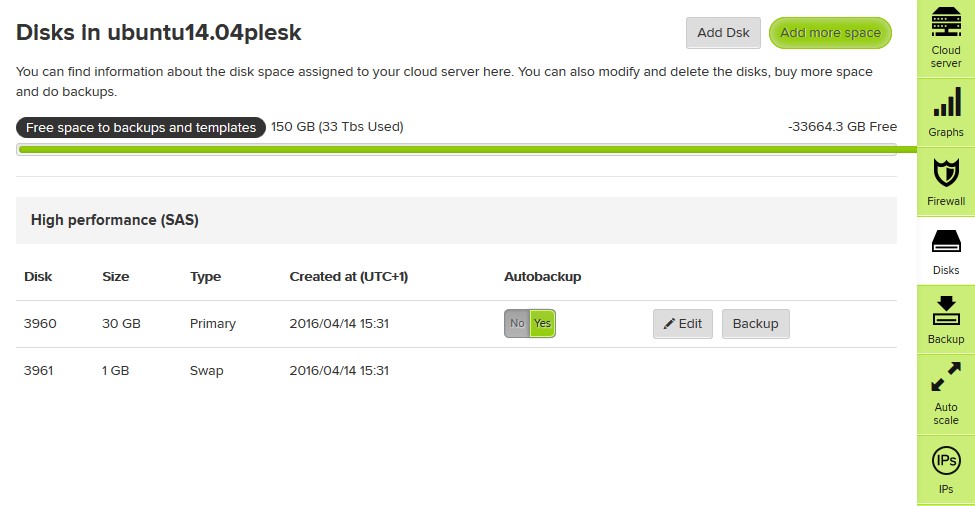
- Launch the disk’s resize from the Gigas’ panel at the Disk tab.